Pallets are magical things even though you may not believe it. I'm quite sure that not many people would use the word "magical" to describe a pallet, but that's exactly what I think of when I see one. There are SO many ways to repurpose such a thing, that it is incredible to think that people just throw them around like they are worthless pieces of junk. You can salvage some awesome wood from these!
I was lucky enough to be able to get some pallets for free from a very sweet guy named Adam Linneman who owns a local Lawn and Landscaping business in Waterloo, IL. He was so incredibly sweet to let me take as many as I could fit into our Pilot. So today I'm going to finally get to share with you what we made from those pallets; if memory serves we had six of them.
Here's a link to his webpage if you are ever in need of lawn and landscaping needs:
He's amazing!
So you all know that I am a serious Pinterest Junkie, and I have a whole entire boards dedicated to Projects, Ideas, and things that I've Tried & Tested! I found this great pin that will lead you to some amazing examples of what you can do with those pallets you see laying around. With some elbow grease, some time, some help from awesome people if you aren't as handy with wood projects like I am, you too might be able to create something as awesome as our Pallet Cedar Chest!
Here's just one of the many links I looked to to grab ideas!
I had seen on one of the many pins that I have hoarded away, an idea to turn pallets into a chest. I LOVE furniture! I love to make and repurpose furniture, the only problem is (and it's a big one) I'm not real handy when it comes to wood. I would love to have my own wood shop someday, and build AMAZING pieces on my own, but until then I lovingly look to Mitch and his dad for help.
So Mitch took all the pallets apart, this took some time given all the nails that needed to be removed, then we took the pieces over to his dad. His dad, also named Mitch, was SO awesome, and over the winter months took the time to glue all of the pallet pieces together into sheets! After he was done, he cut the sheets to the diameters that we needed, and shaped out the box. He had extra wood hanging around his shop, so he built this box to last!
 |
| This is what it looked like after all the pieces were glued, and nailed together. |
 |
| With its top |
 |
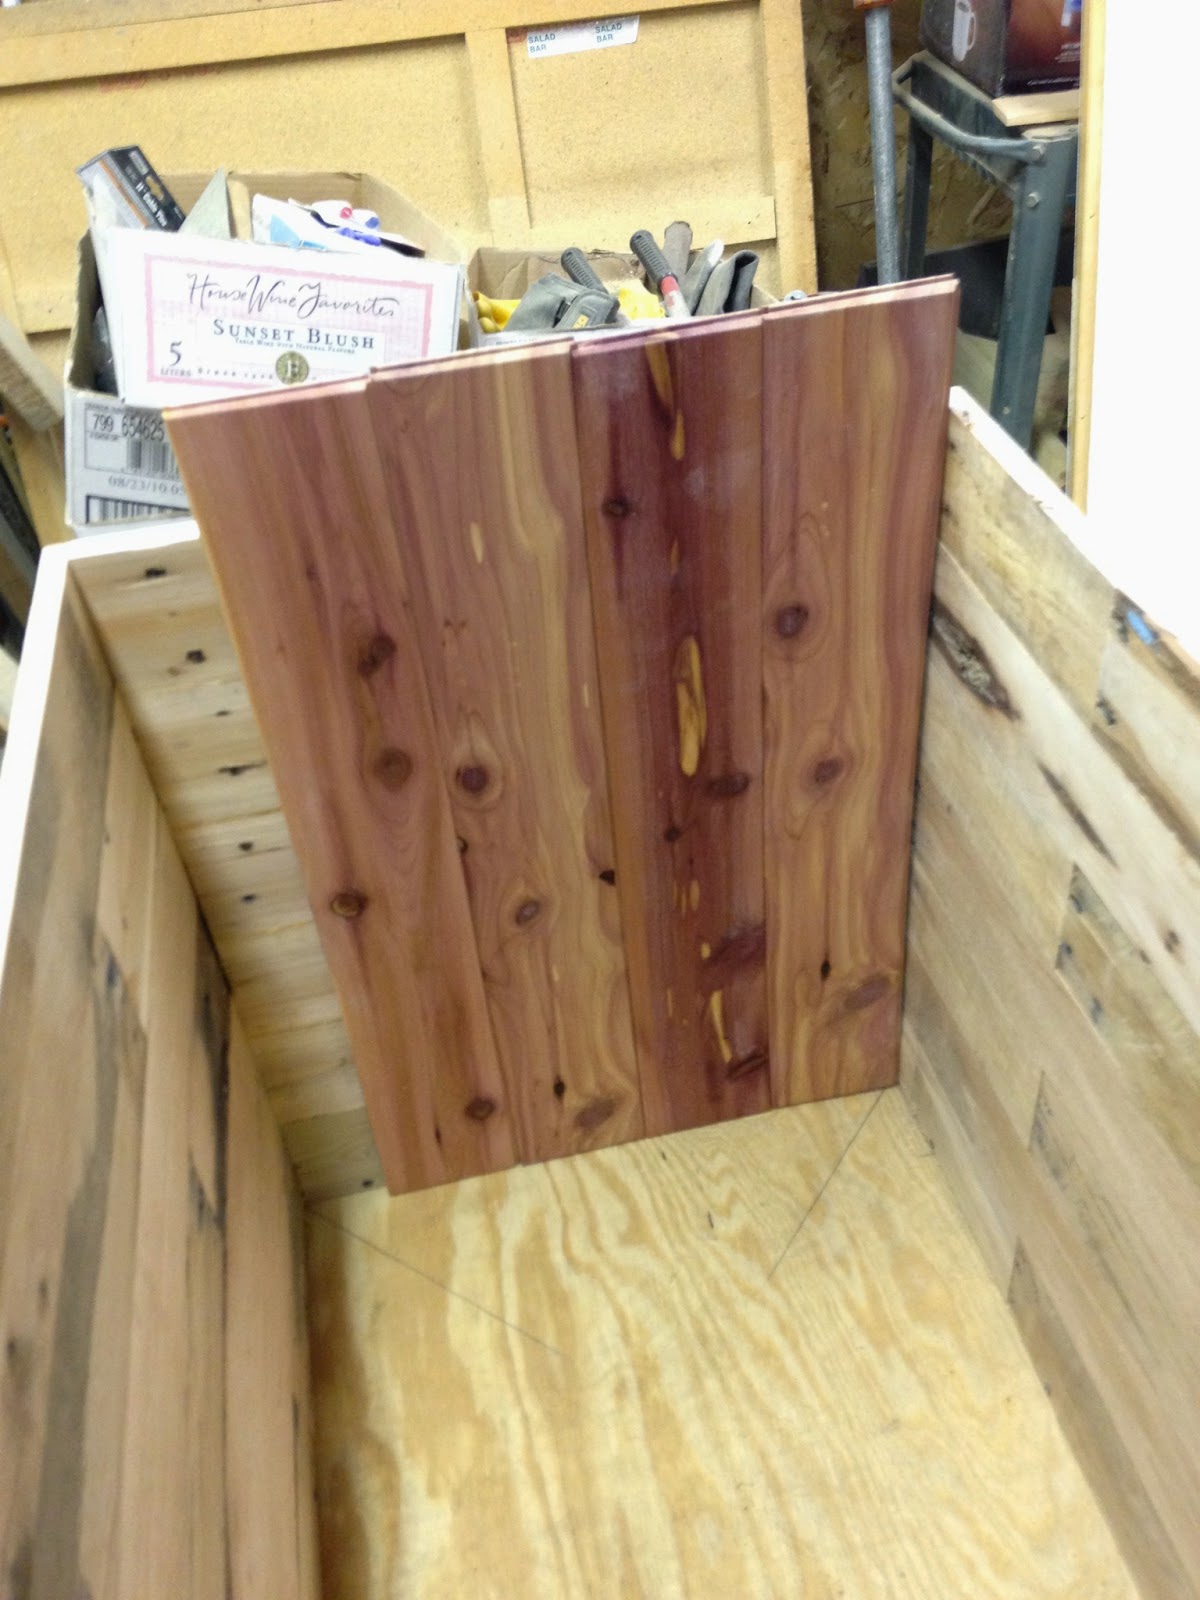
| We decided to line it with cedar. It was about $80, but it was worth it, and smells amazing! |
 |
| Mitch and Mitch |
 |
| They make a great team! |
 |
| The bottom where we decided to add feet. |
 |
| It's not totally complete yet, but super close! |
So I wanted to add a personal touch to our cedar chest, and it seriously took me over two months to come up with something that I thought would be quite lovely. I'm happy with the way it turned out. It was my first time wood burning, and I'm honestly so pleased with it that I might wood burn more items in the future! The gift ideas could be endless!
 |
| Graphite wings and a stamped B, then wood burned into the top. |
 |
| Mitch put a base around the lid to give it a finished look. |
 |
| Stained and polyurethaned, it looks nice in our room. |
 |
| It's a subtle look, but I love it none the less. |
So there is our project! I hope it gives you some ideas on how to repurpose other things you may see laying around. It's always a great accomplishment to get something like this finished. Seriously, I give ALL the credit to Mitch and his dad! They did a FANTASTIC job, and I love the fact that we have something built by hand, by the both of them in our house! Makes it 10X's more special. I know that we will have this piece of furniture in our family for generations! <3
No comments:
Post a Comment